Simple and Easy Treat Bag Toppers
Things you will need:
- 100 4×6 Prints, or how ever many you decide on. WalMart tends to have a special on 100 glossy 4×6 prints for $13
- Clear Treat Bags, 3 3/4″ x 6 in size, you can use bigger if you need them to hold more
- Photoshop or another graphics program that lets you work with actual measurements
- Small stapler and staples, you will need two per bag
- Filling for bags
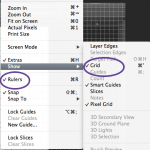
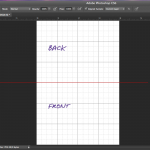
 Open your favorite graphics program. I use PhotoShop so the images will reflect that but any program will work so long as it lets you use layers and actual dimensions. Create a new document at 4×6, 300DPI. Make sure if using PhotoShop that you have rulers and grids showing. Draw a line straight through the middle at 3 inches.
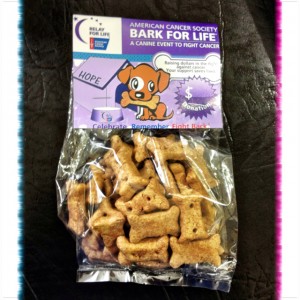
Now design your image. Remember your back will be the top and front will be the bottom. Easiest way to work with the image is to create one side and then rotate the image 180 degrees. Be careful not to use copyrighted images as the printer you use may reject them. If you have permission to use a specific logo take it with you when you pick them up. Your final image should look something like this. Save your final result as a flat jpeg so you can upload it to your photo place of choice.
Once you get your prints back take the time to fold each one in half so they’ll be easier to assemble. Now the fun part! You want to fill each bag about half way full of whatever you want. Cookies, candies, erasers, little prizes, cereal is awesome. If your stuck on what to fill them with you can look on Pinterest, there are tons of ideas. This next step may require some help. Group up the top of the bag and place the topper over it and staple once on each side. Keep going until your done!
If you need to put a price on your items these are some fantastic PSD files

